We have been planning a small grove of fruit trees on the homestead for a long time. It always seemed like something got in the way of us actually getting it done. Fruit trees are wonderful and prolific producers when properly maintenanced, and they are a must have for any homesteading family. Nothing beats fresh fruit in season.
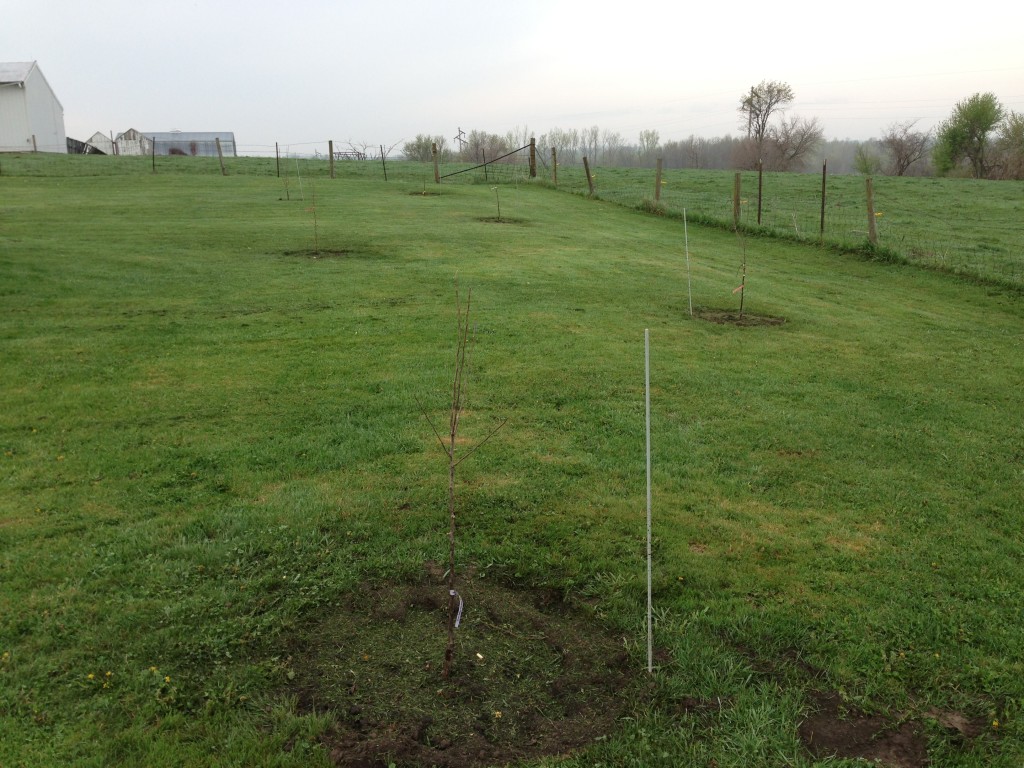
Before we started laying out where our trees would go, we had to think about our solar aspect and how the sun would hit these trees. We decided to plant the shortest trees more to the south and the taller ones to the north, so that when the trees grow up they won’t block sunlight from one another.
The rule of thumb for planting trees in our region is that you can plant them in any month with an “R” in it. A week or so ago, knowing it was getting a little late to get them in this year we decided to take our chances and ordered seven trees from Raintree Nursery in Oregon. We ordered two cherry trees, two pear trees, two apple trees and one apricot tree. In a normal year, I think we would have had a real challenge to plant the trees this late, but the weather has been really cold for this time of year, so we felt like we had a little extra time. Also, we are supposed to have rain and clouds for the next several days, so that should help.
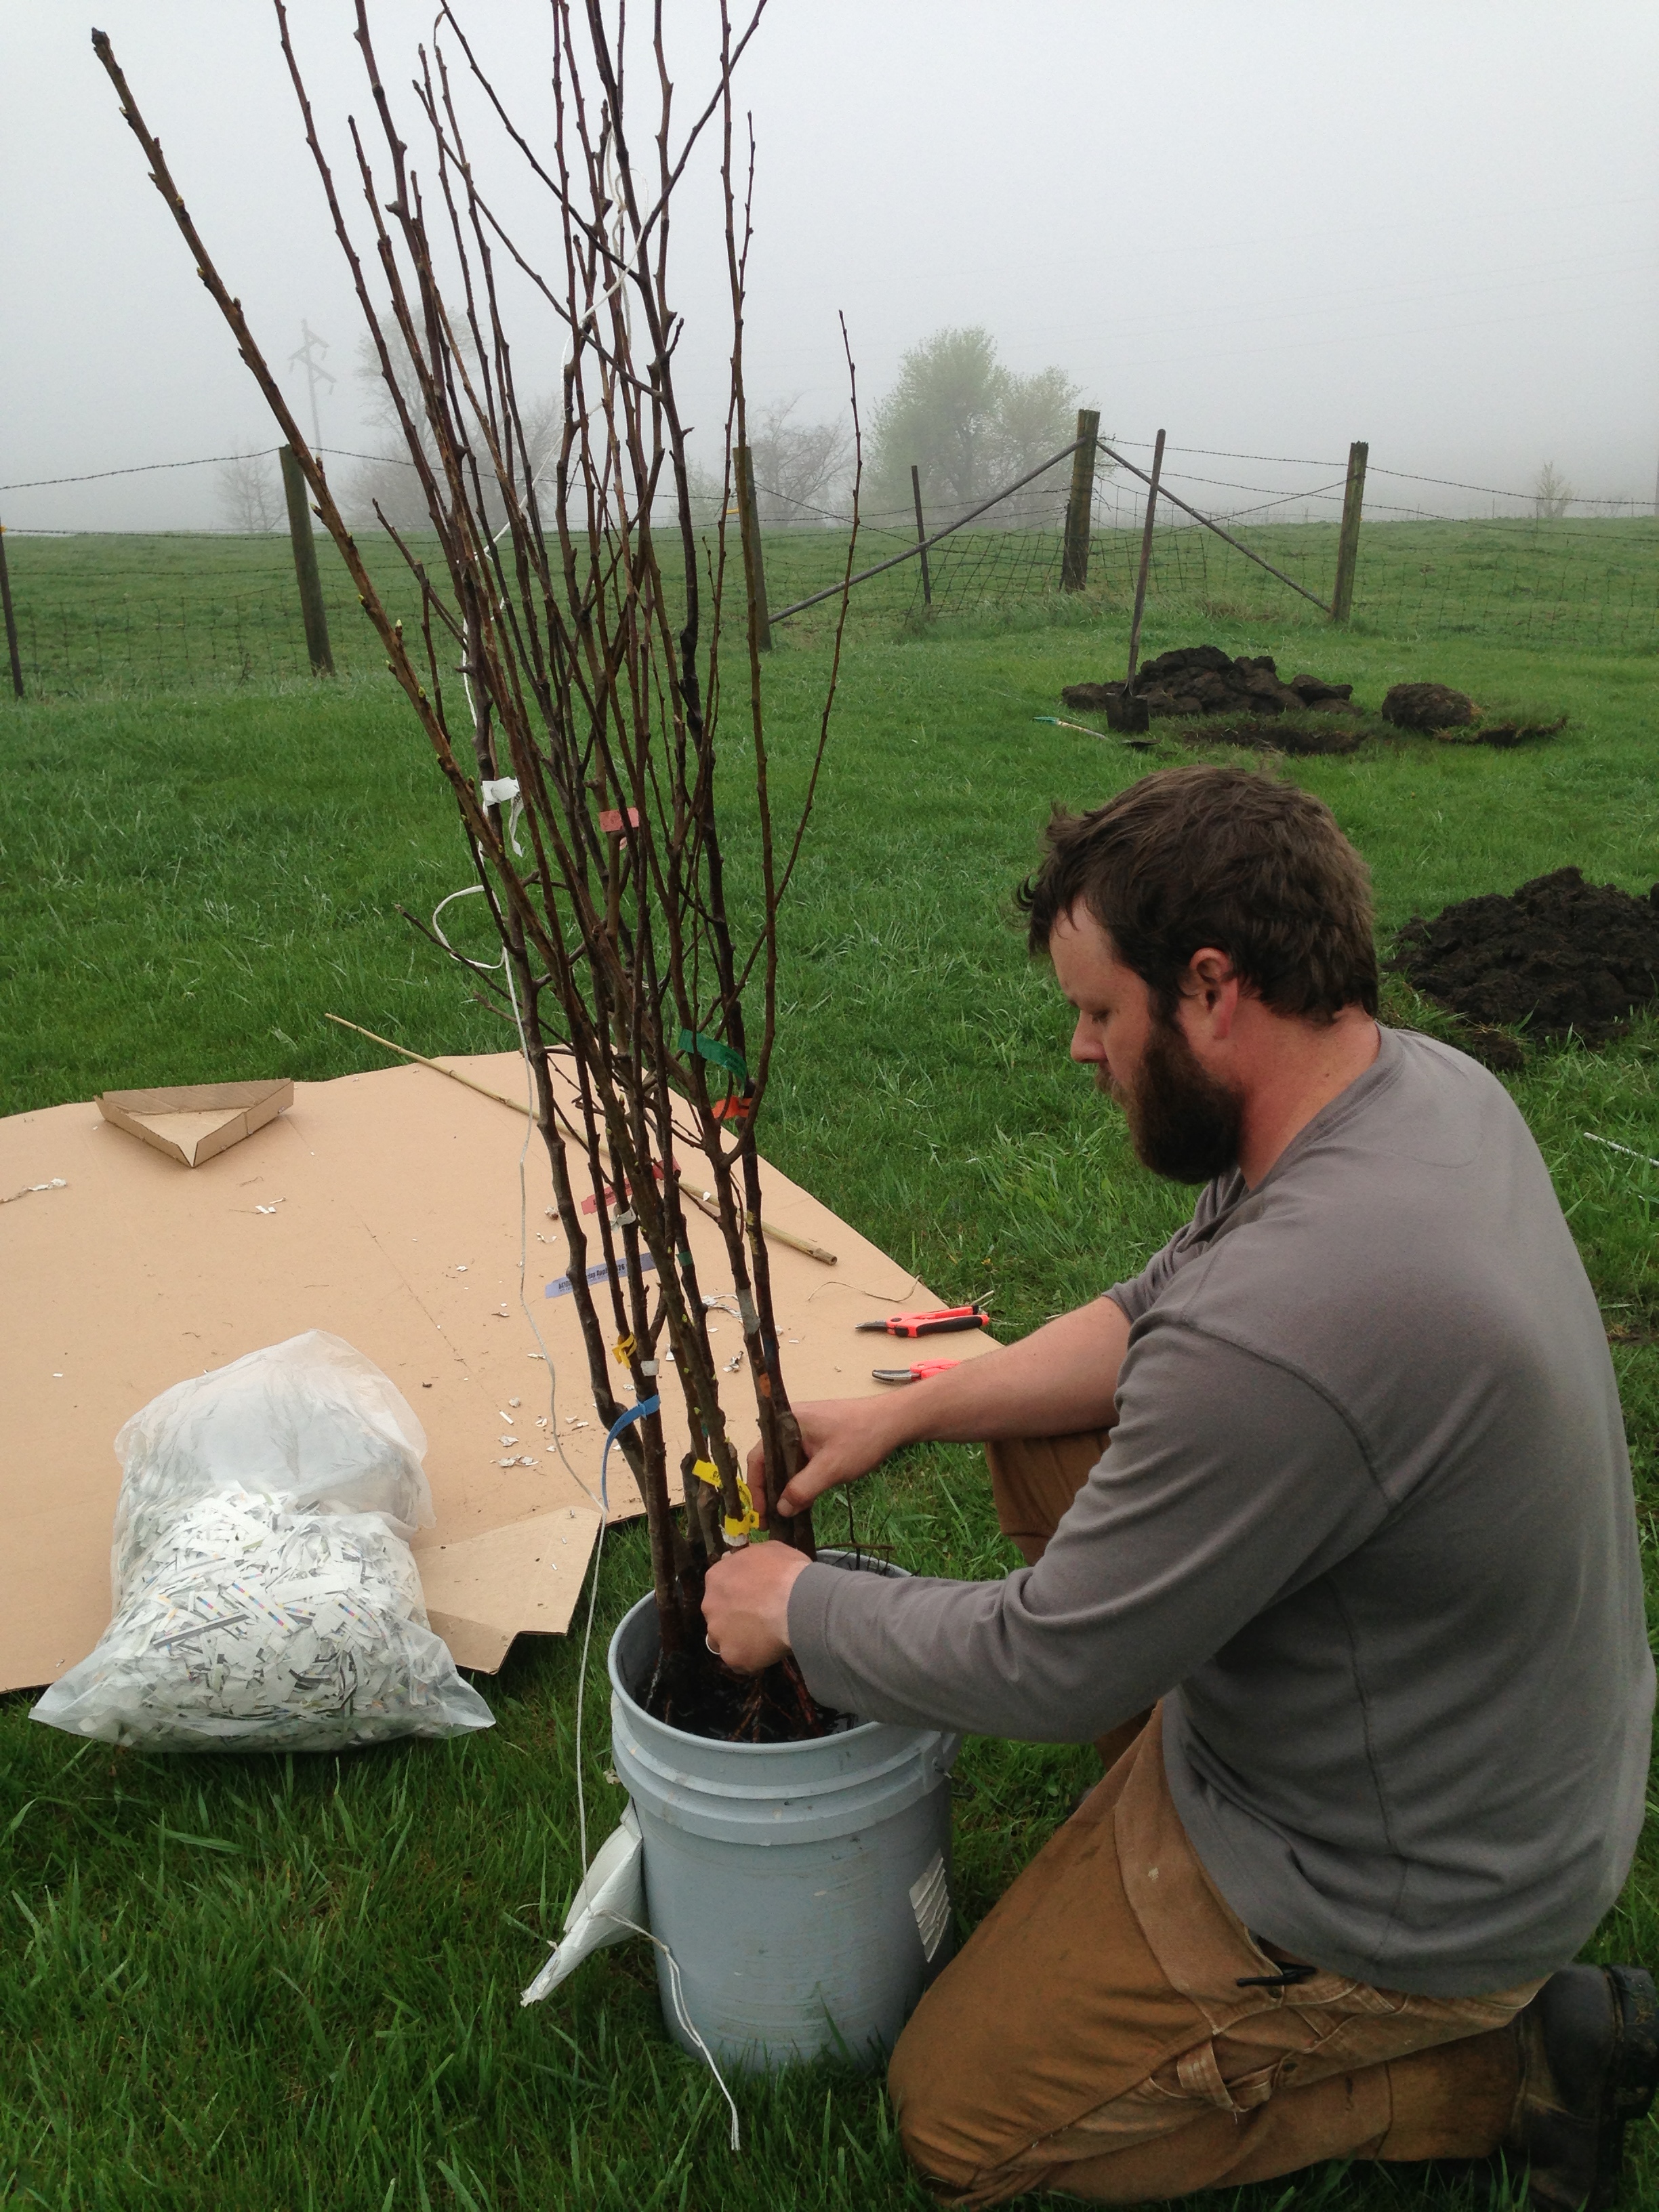
When the trees arrived, we left them in the box in a cool place for a couple of days until we had time to plant them. You want to keep trees cool until they are in the ground, because they are shipped dormant, and if they begin to come out of dormancy before they are in the ground it can be hard on them.
When we were ready to go, we opened up the box, took the trees from their bag of moist, shredded newspaper, and inserted the whole bundle into a bucket of water. We were excited to see that Raintree had sent us an extra apple tree! It is best to let the roots soak for an hour or so before you plant them to be sure that they are full of water.
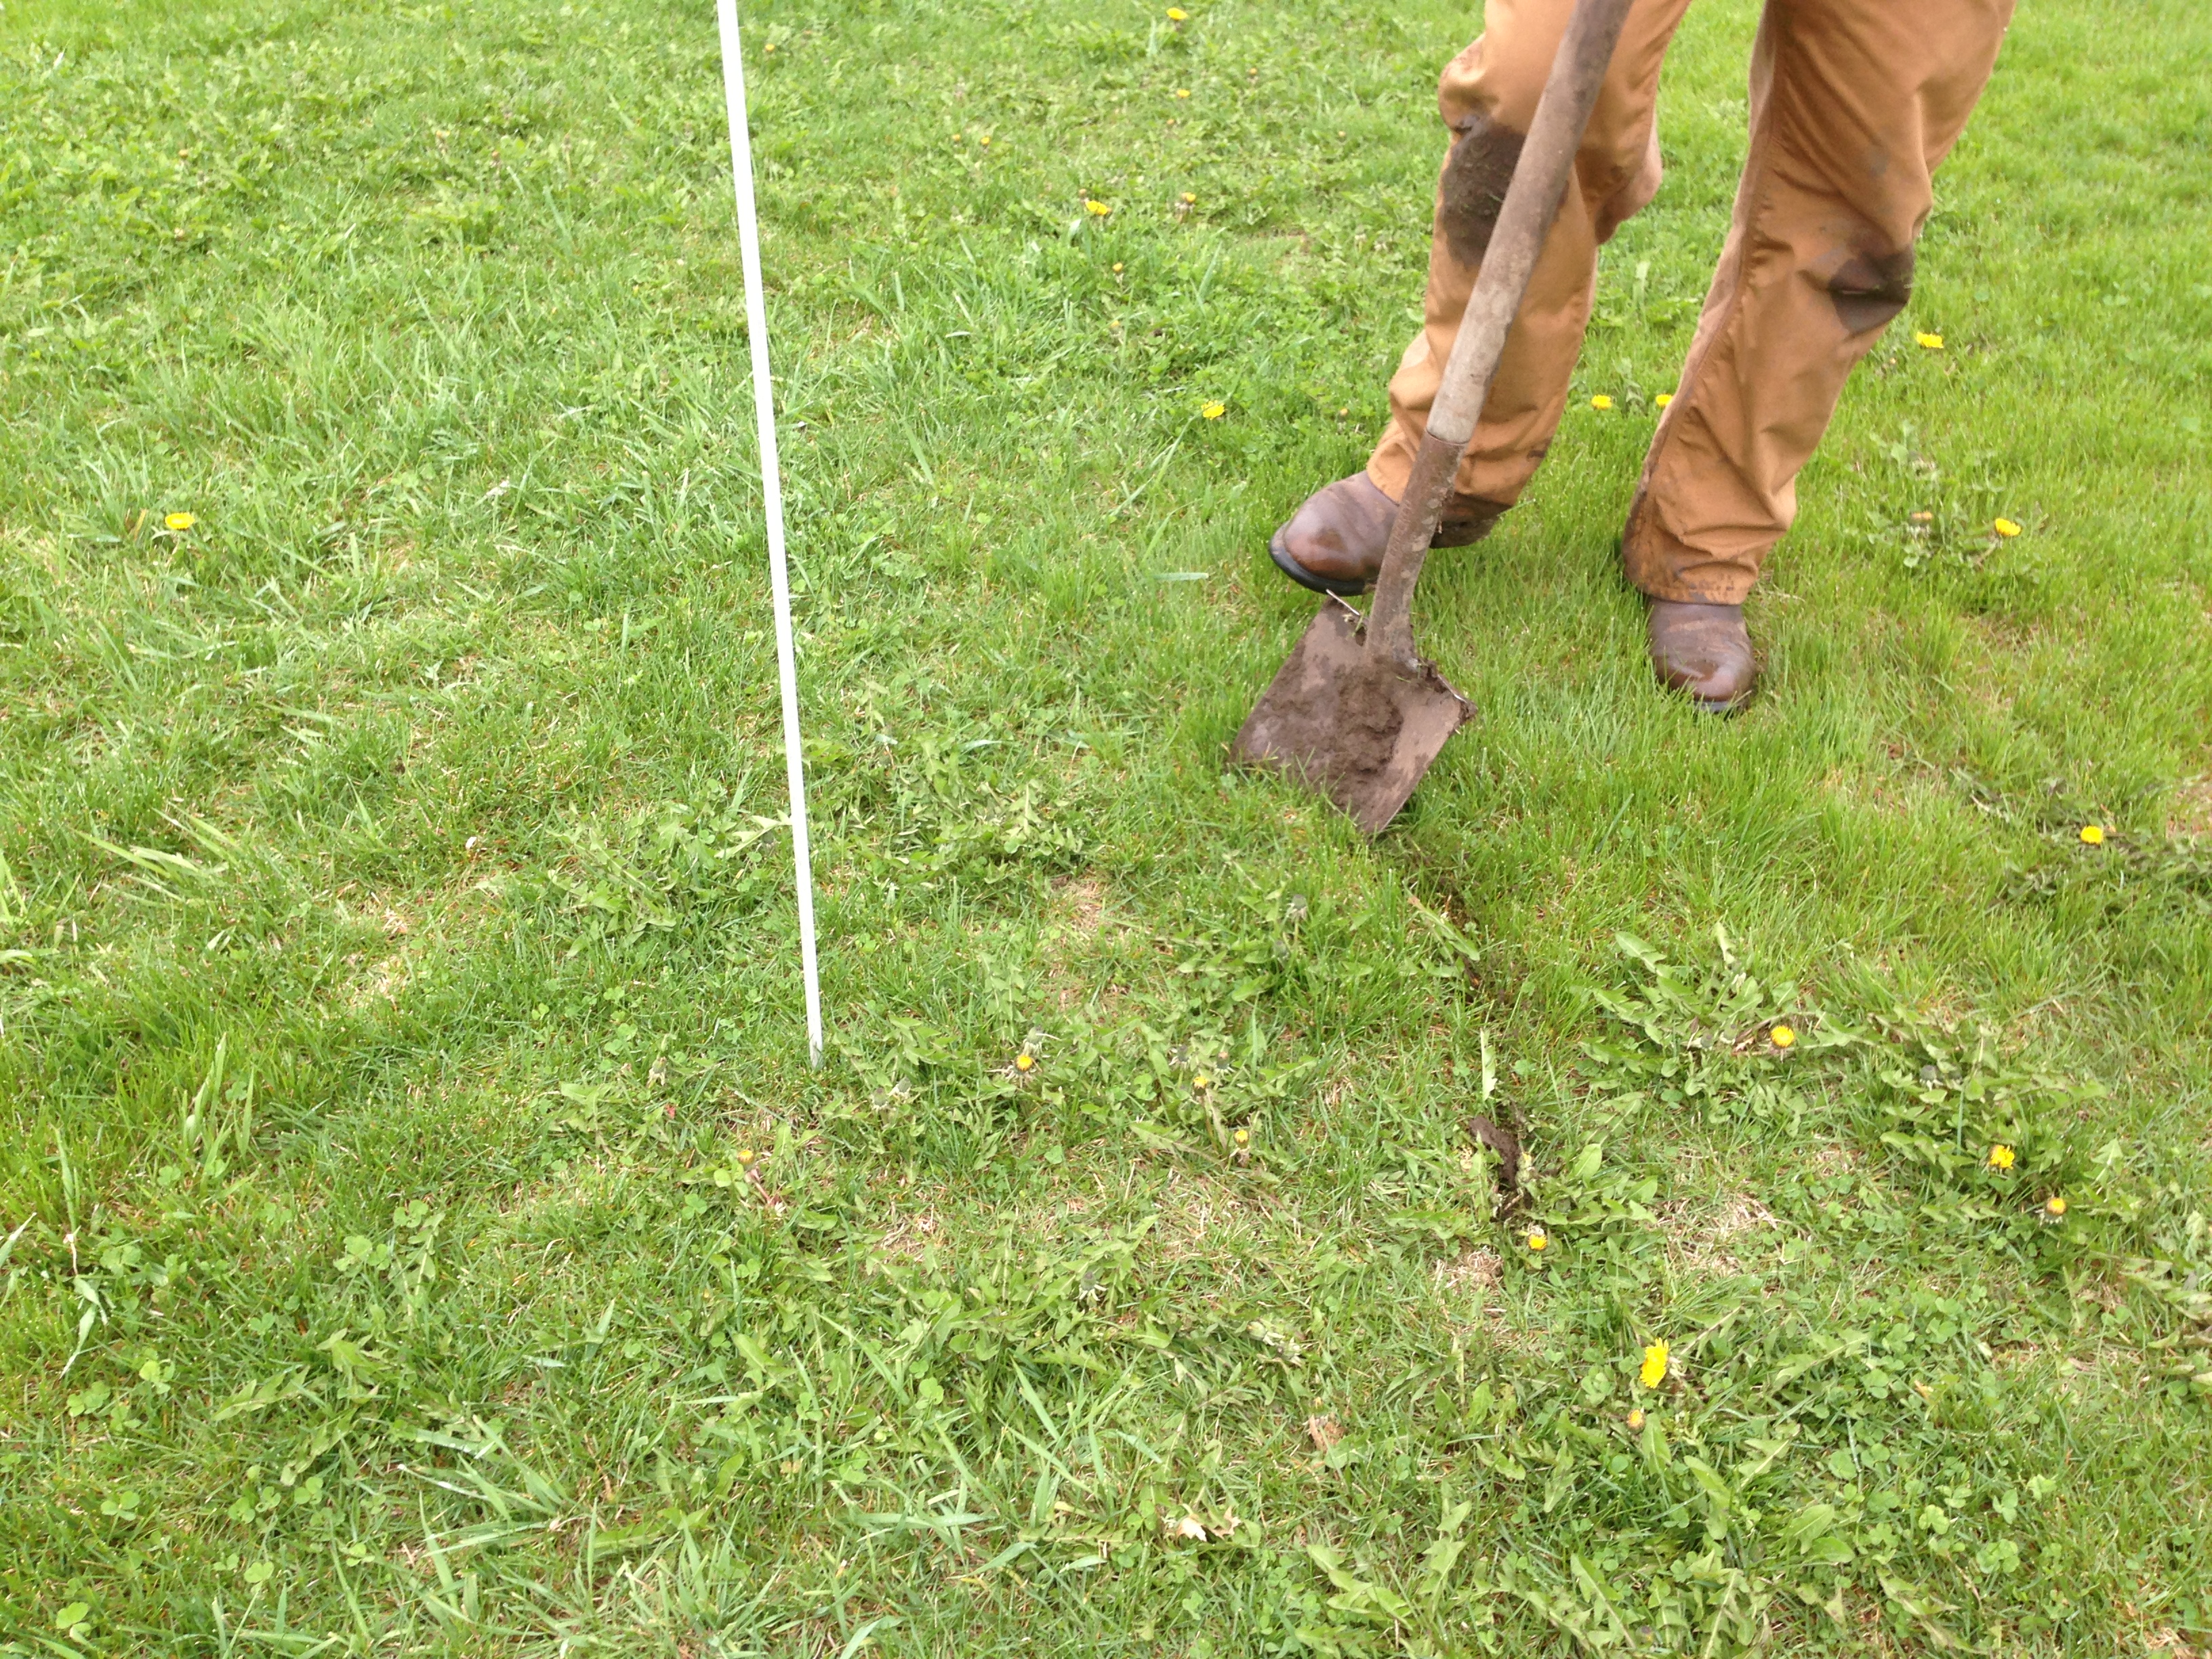
We had the placements for all of our trees marked with some stakes. We started by making a circular perforation around the spot where the tree was going to be placed.
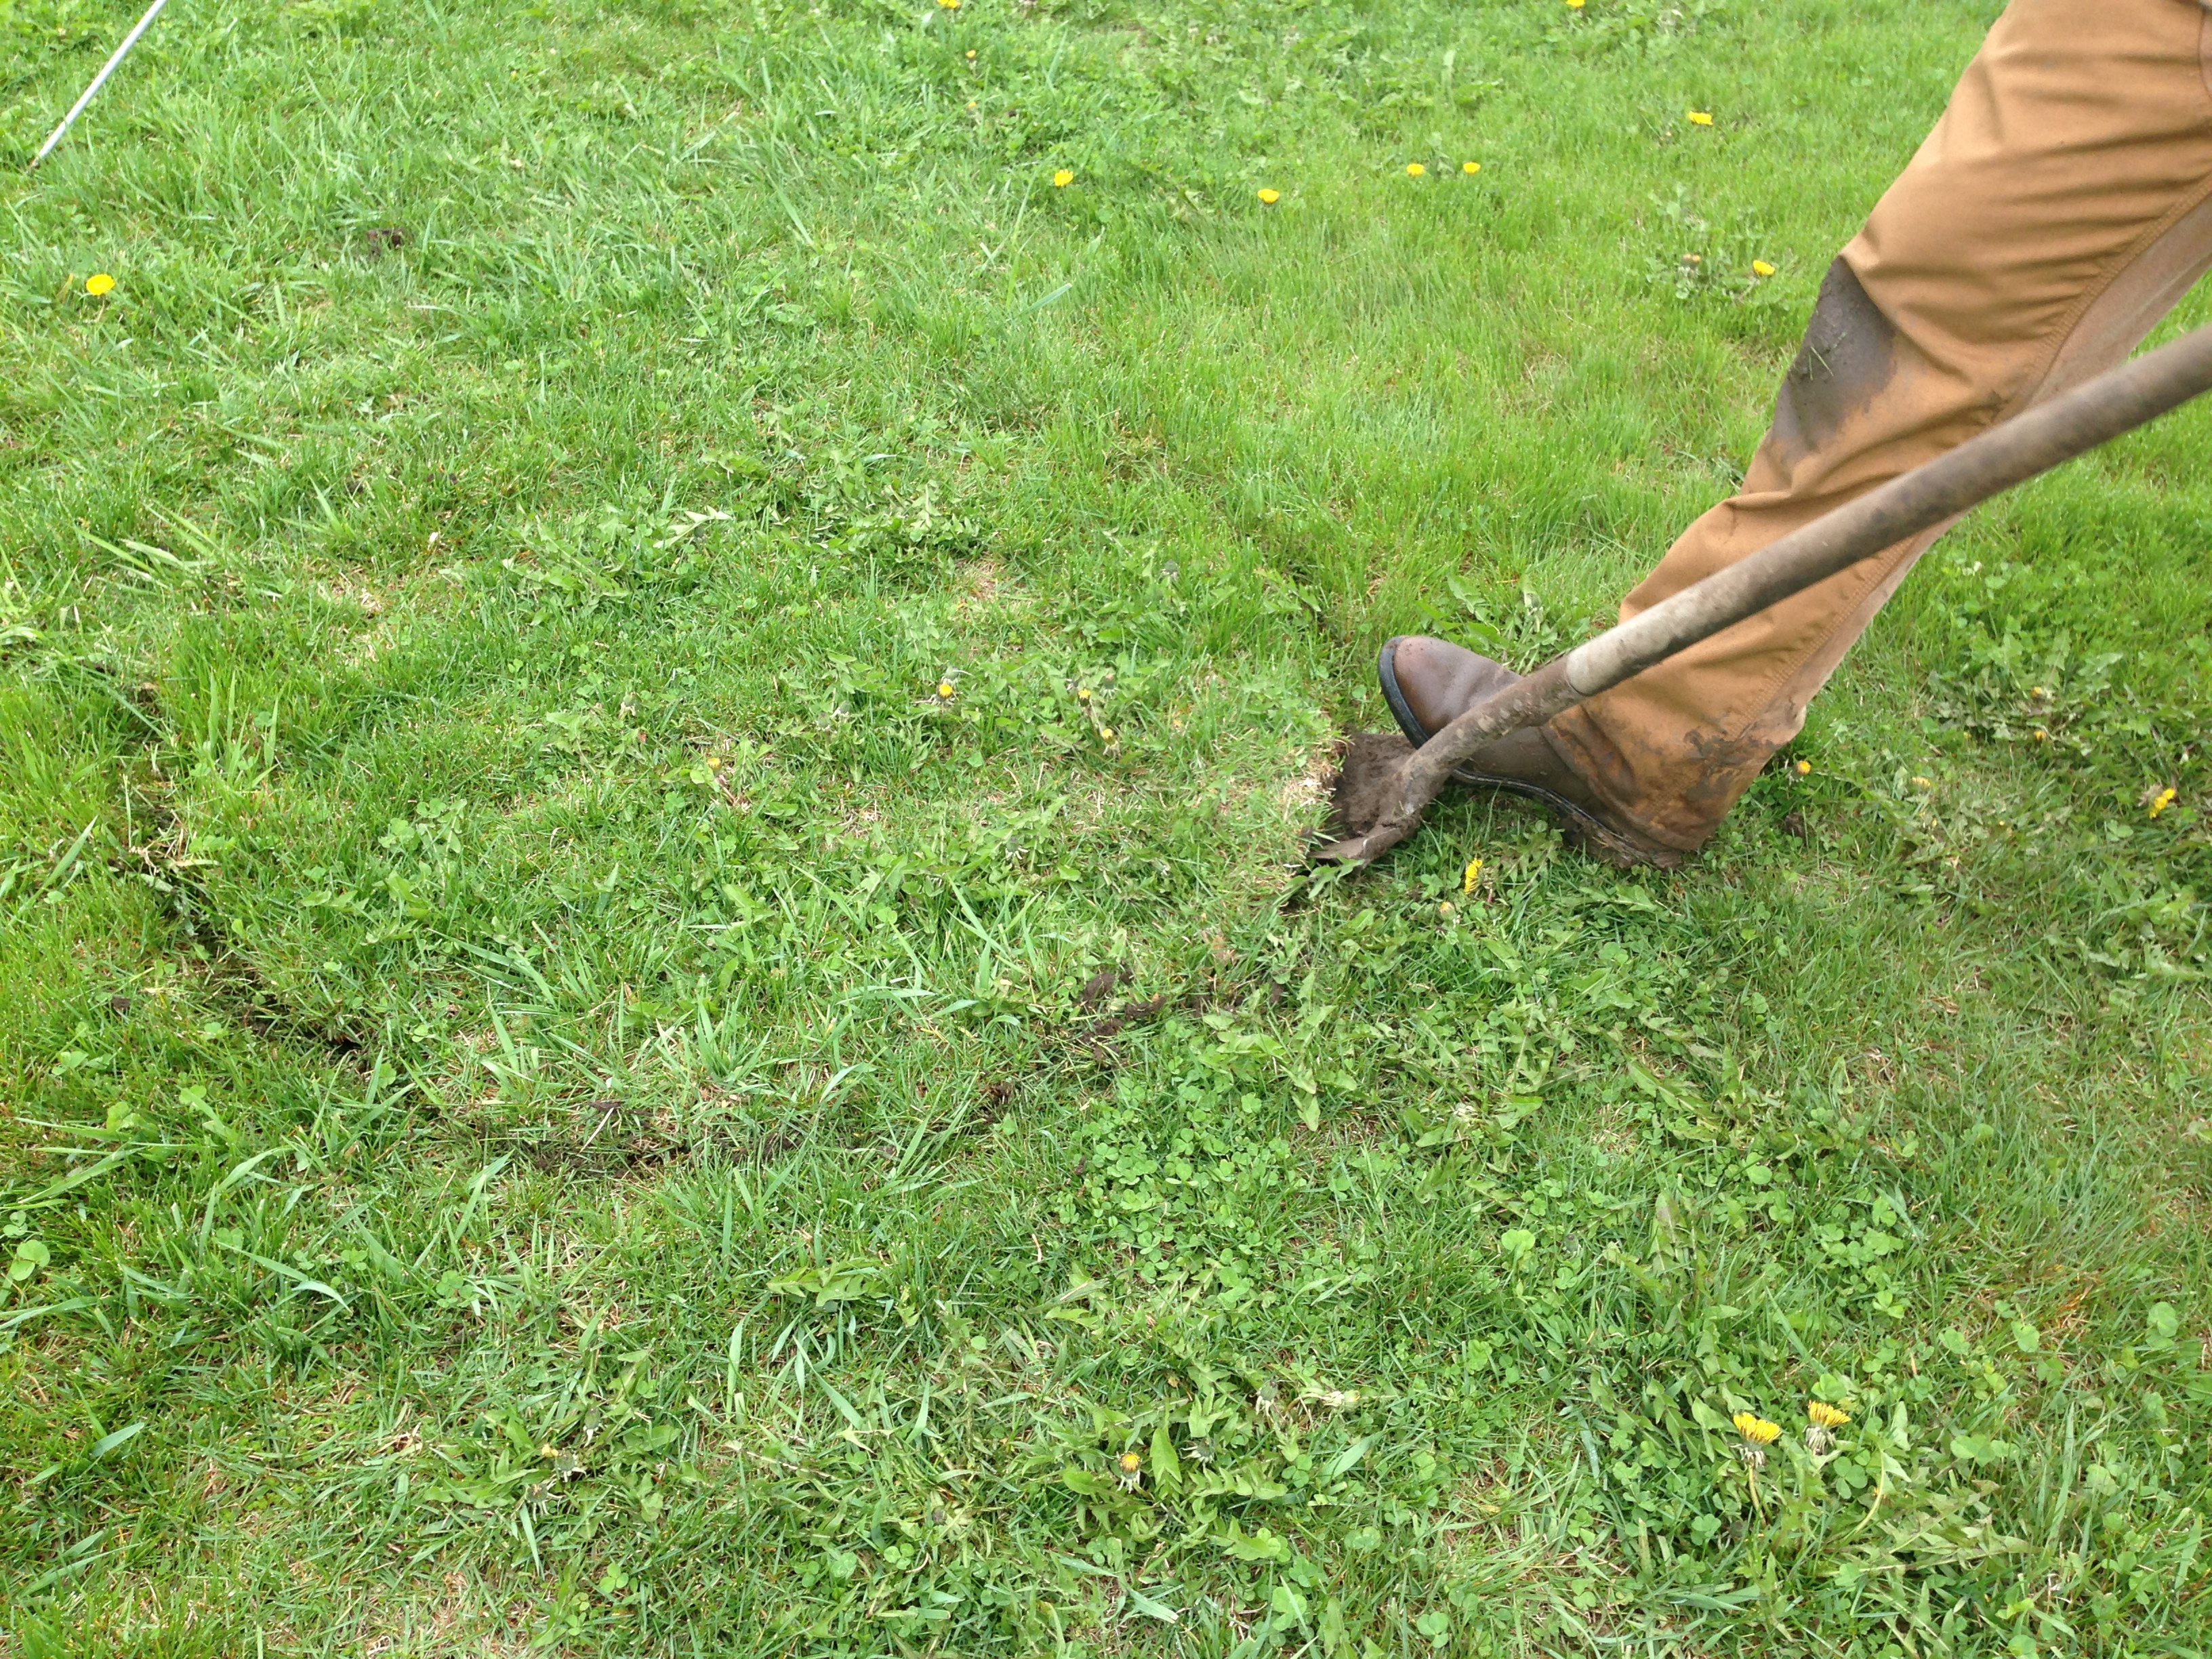
The next step is to remove the sod. You want the grass and its roots gone when you plant your new tree. If you leave them on, they compete with the young tree for water and nutrients. Use a shovel to work the sod loose. As you work it free, you can roll it out of the way and eventually you can remove it in one piece. It is really heavy. If you want to cut it into sections to make it easier to move you can. We like to keep it in big chunks so we can more easily use it to repair bare spots in other places.

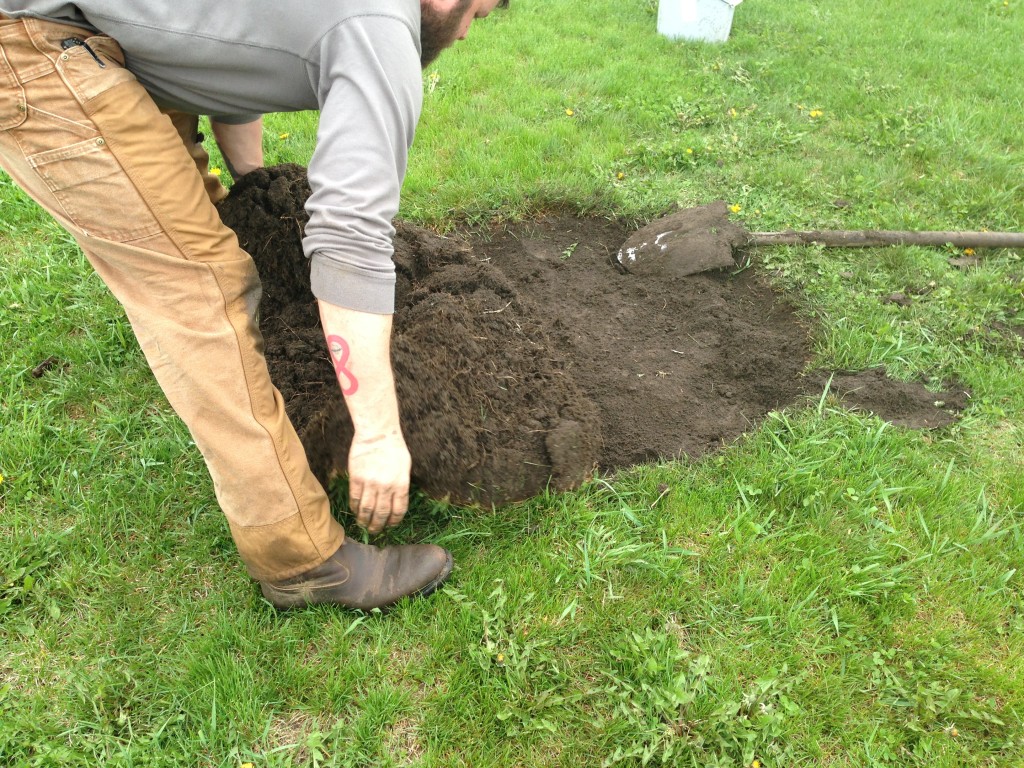
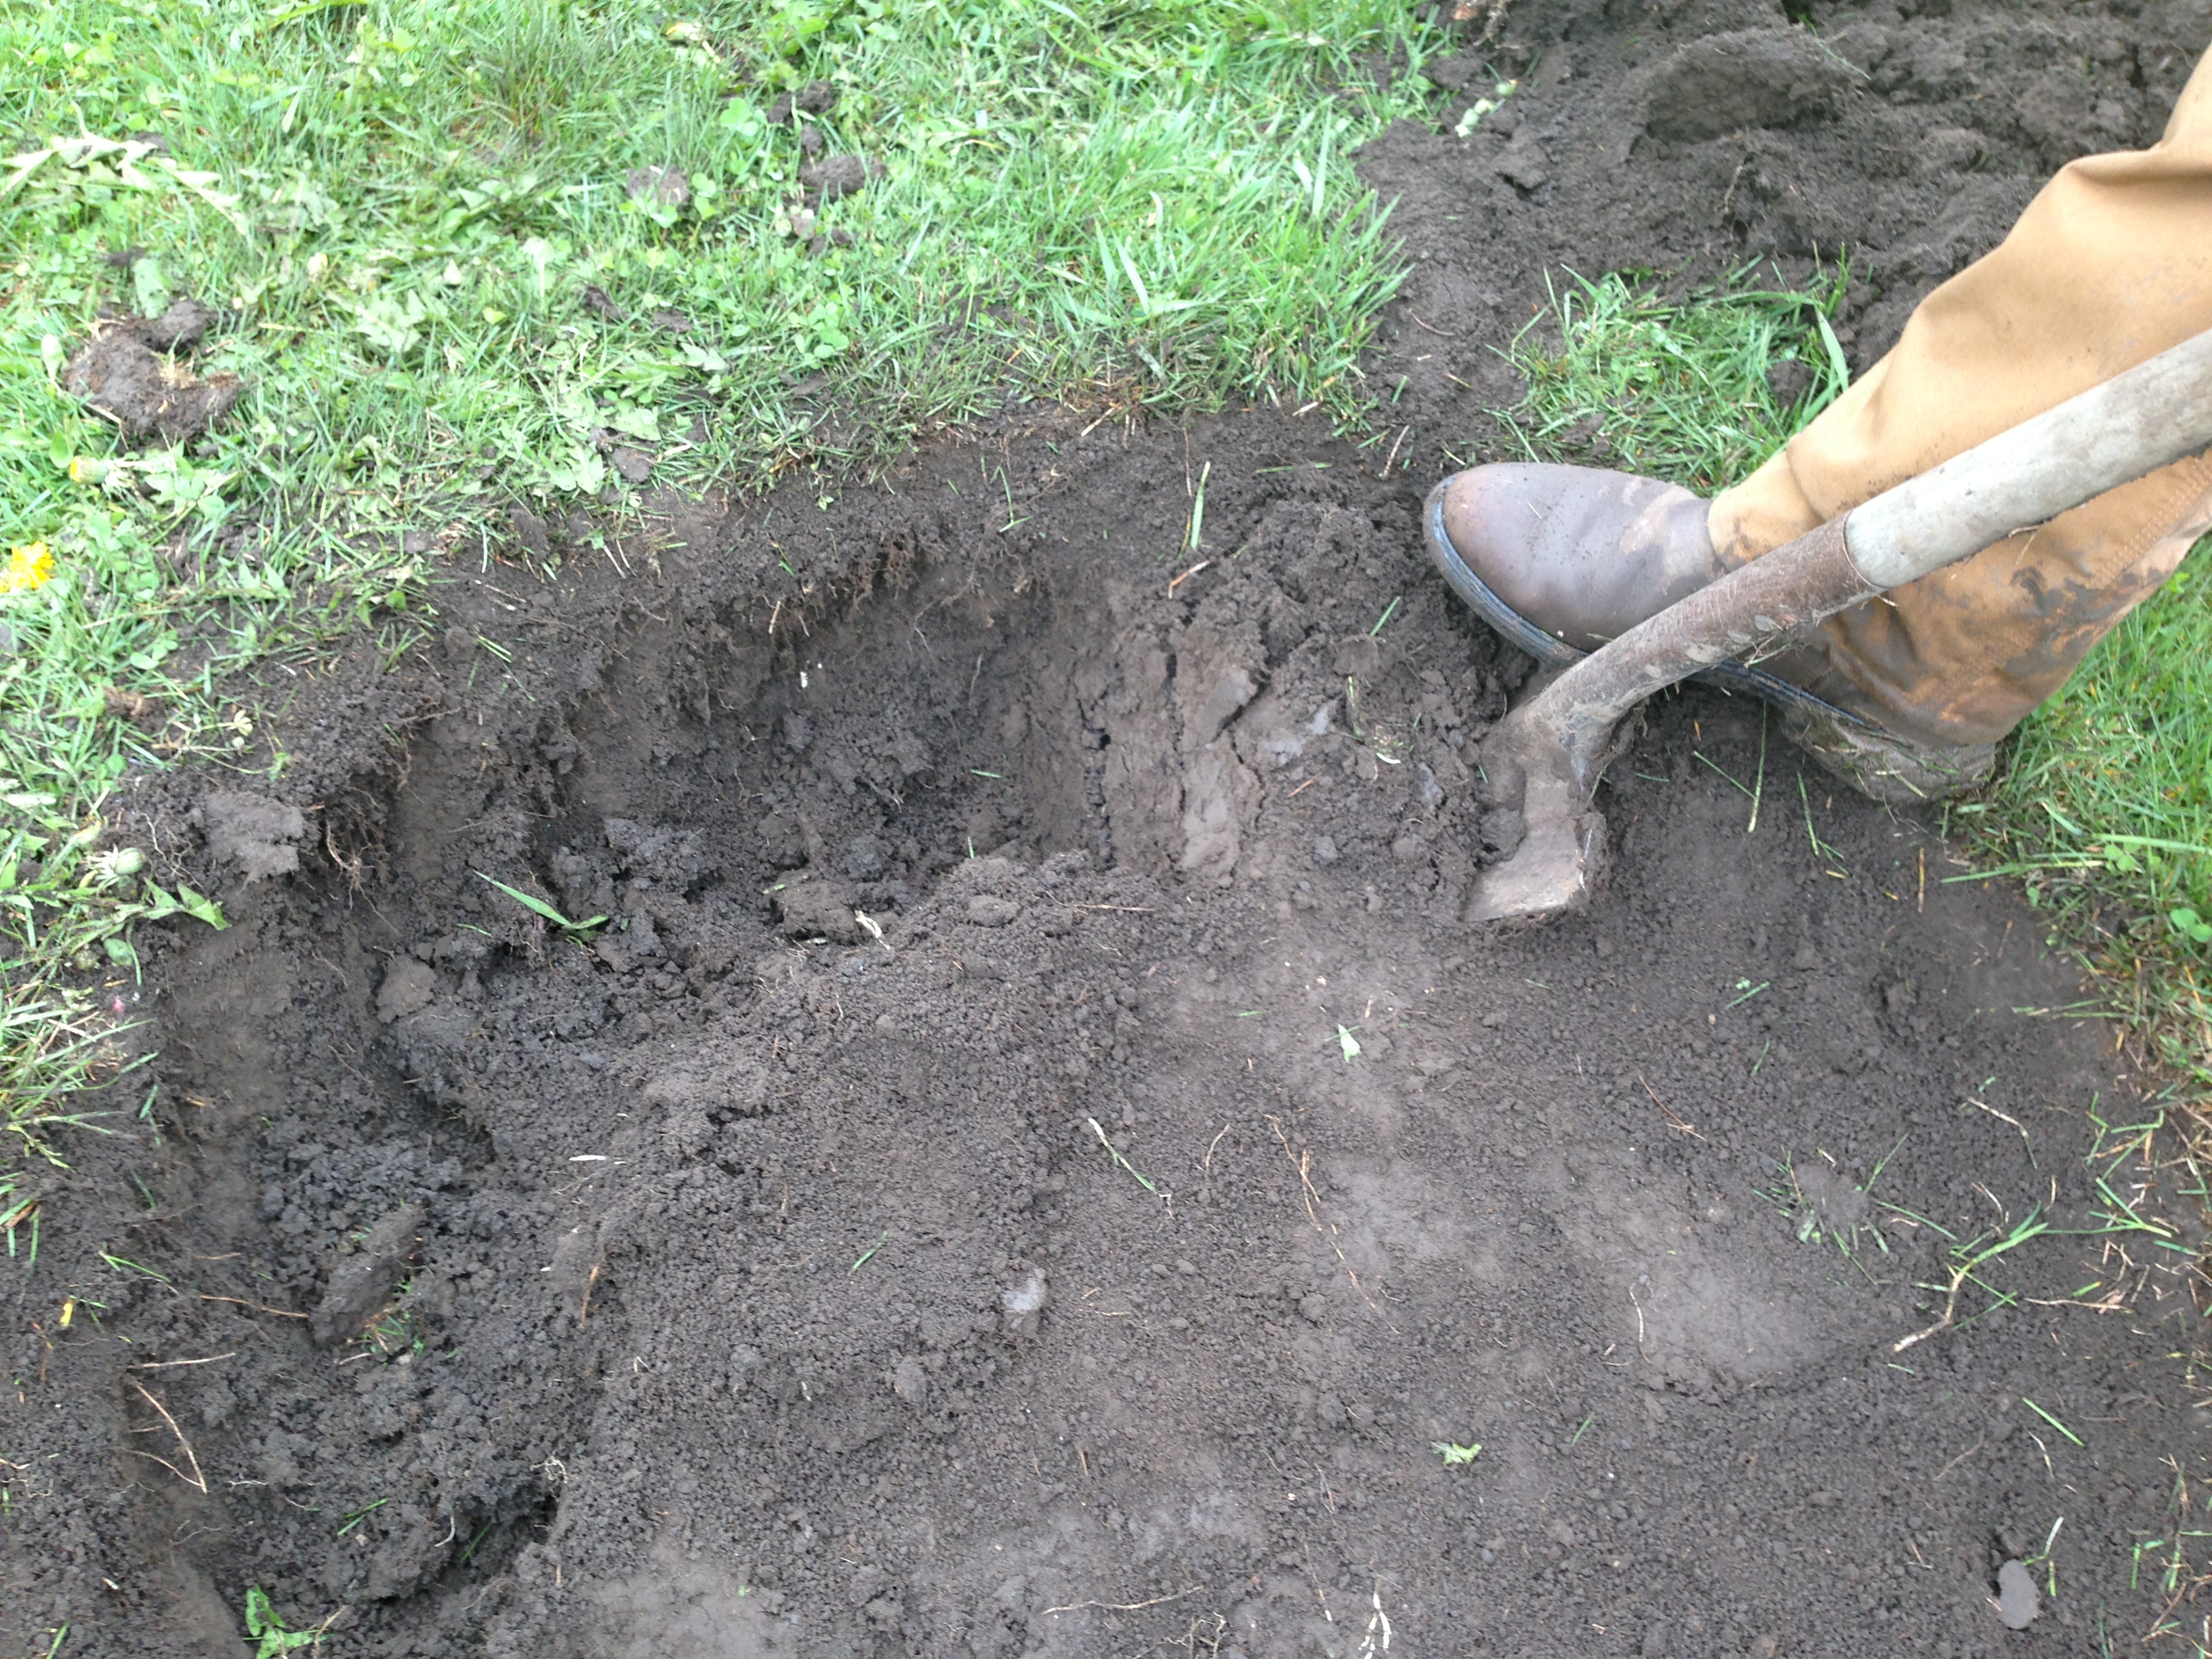
After the sod is removed you can begin to dig your hole. I like to dig with my shovel perpendicular to the edge of the hole. This keeps the sides of the hole loose instead of creating a smooth root barrier that the roots will want to wrap around in.
You can see the difference here. On the left is a loose, fractured wall. On the right is a smooth one. It is really important that the sides of the hole be loose. Otherwise the roots may not penetrate through it, and they may wrap around the edges and your tree could become root-bound, like it was in a pot.
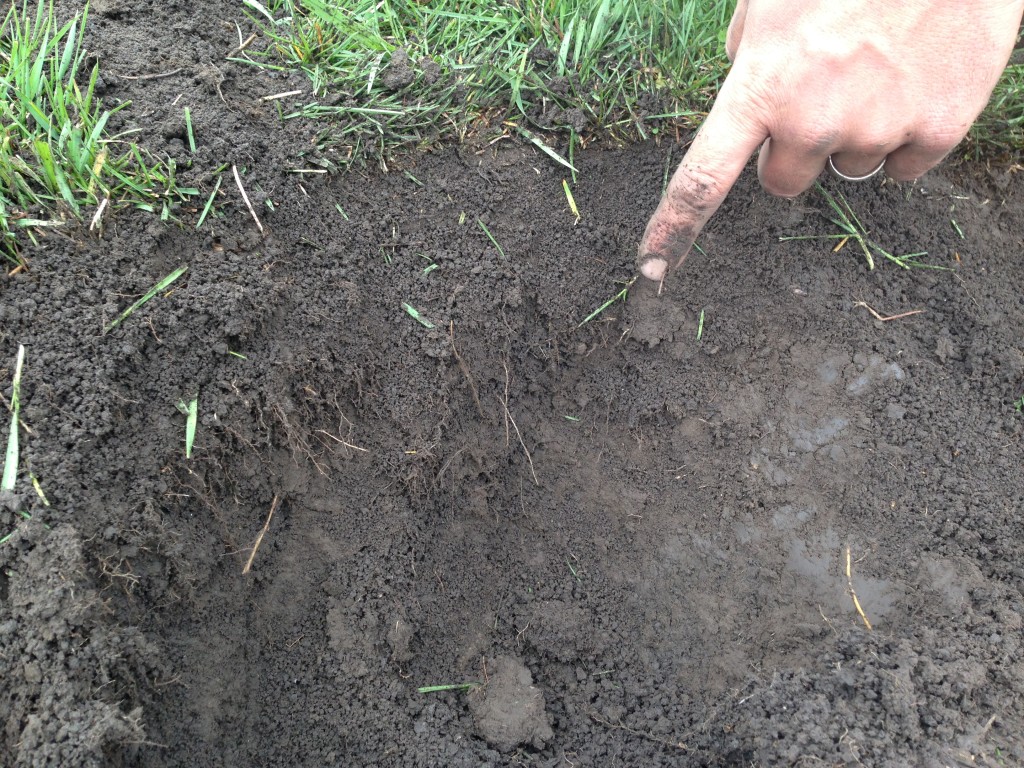
It is good to see a little bit of fungus in your soil. Fungal hyphae in the soil help the roots of the young trees take up and use the nutrients in the soil. If you are planting into sterile soil it is best to inoculate with some micorrhiza product of some sort.
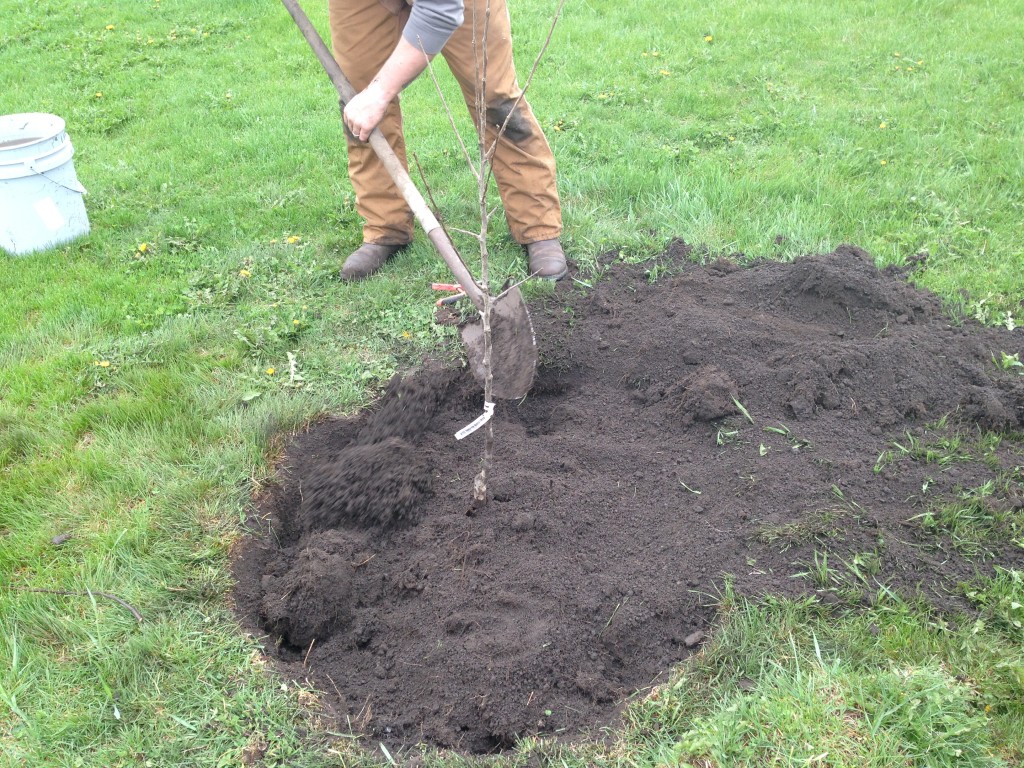
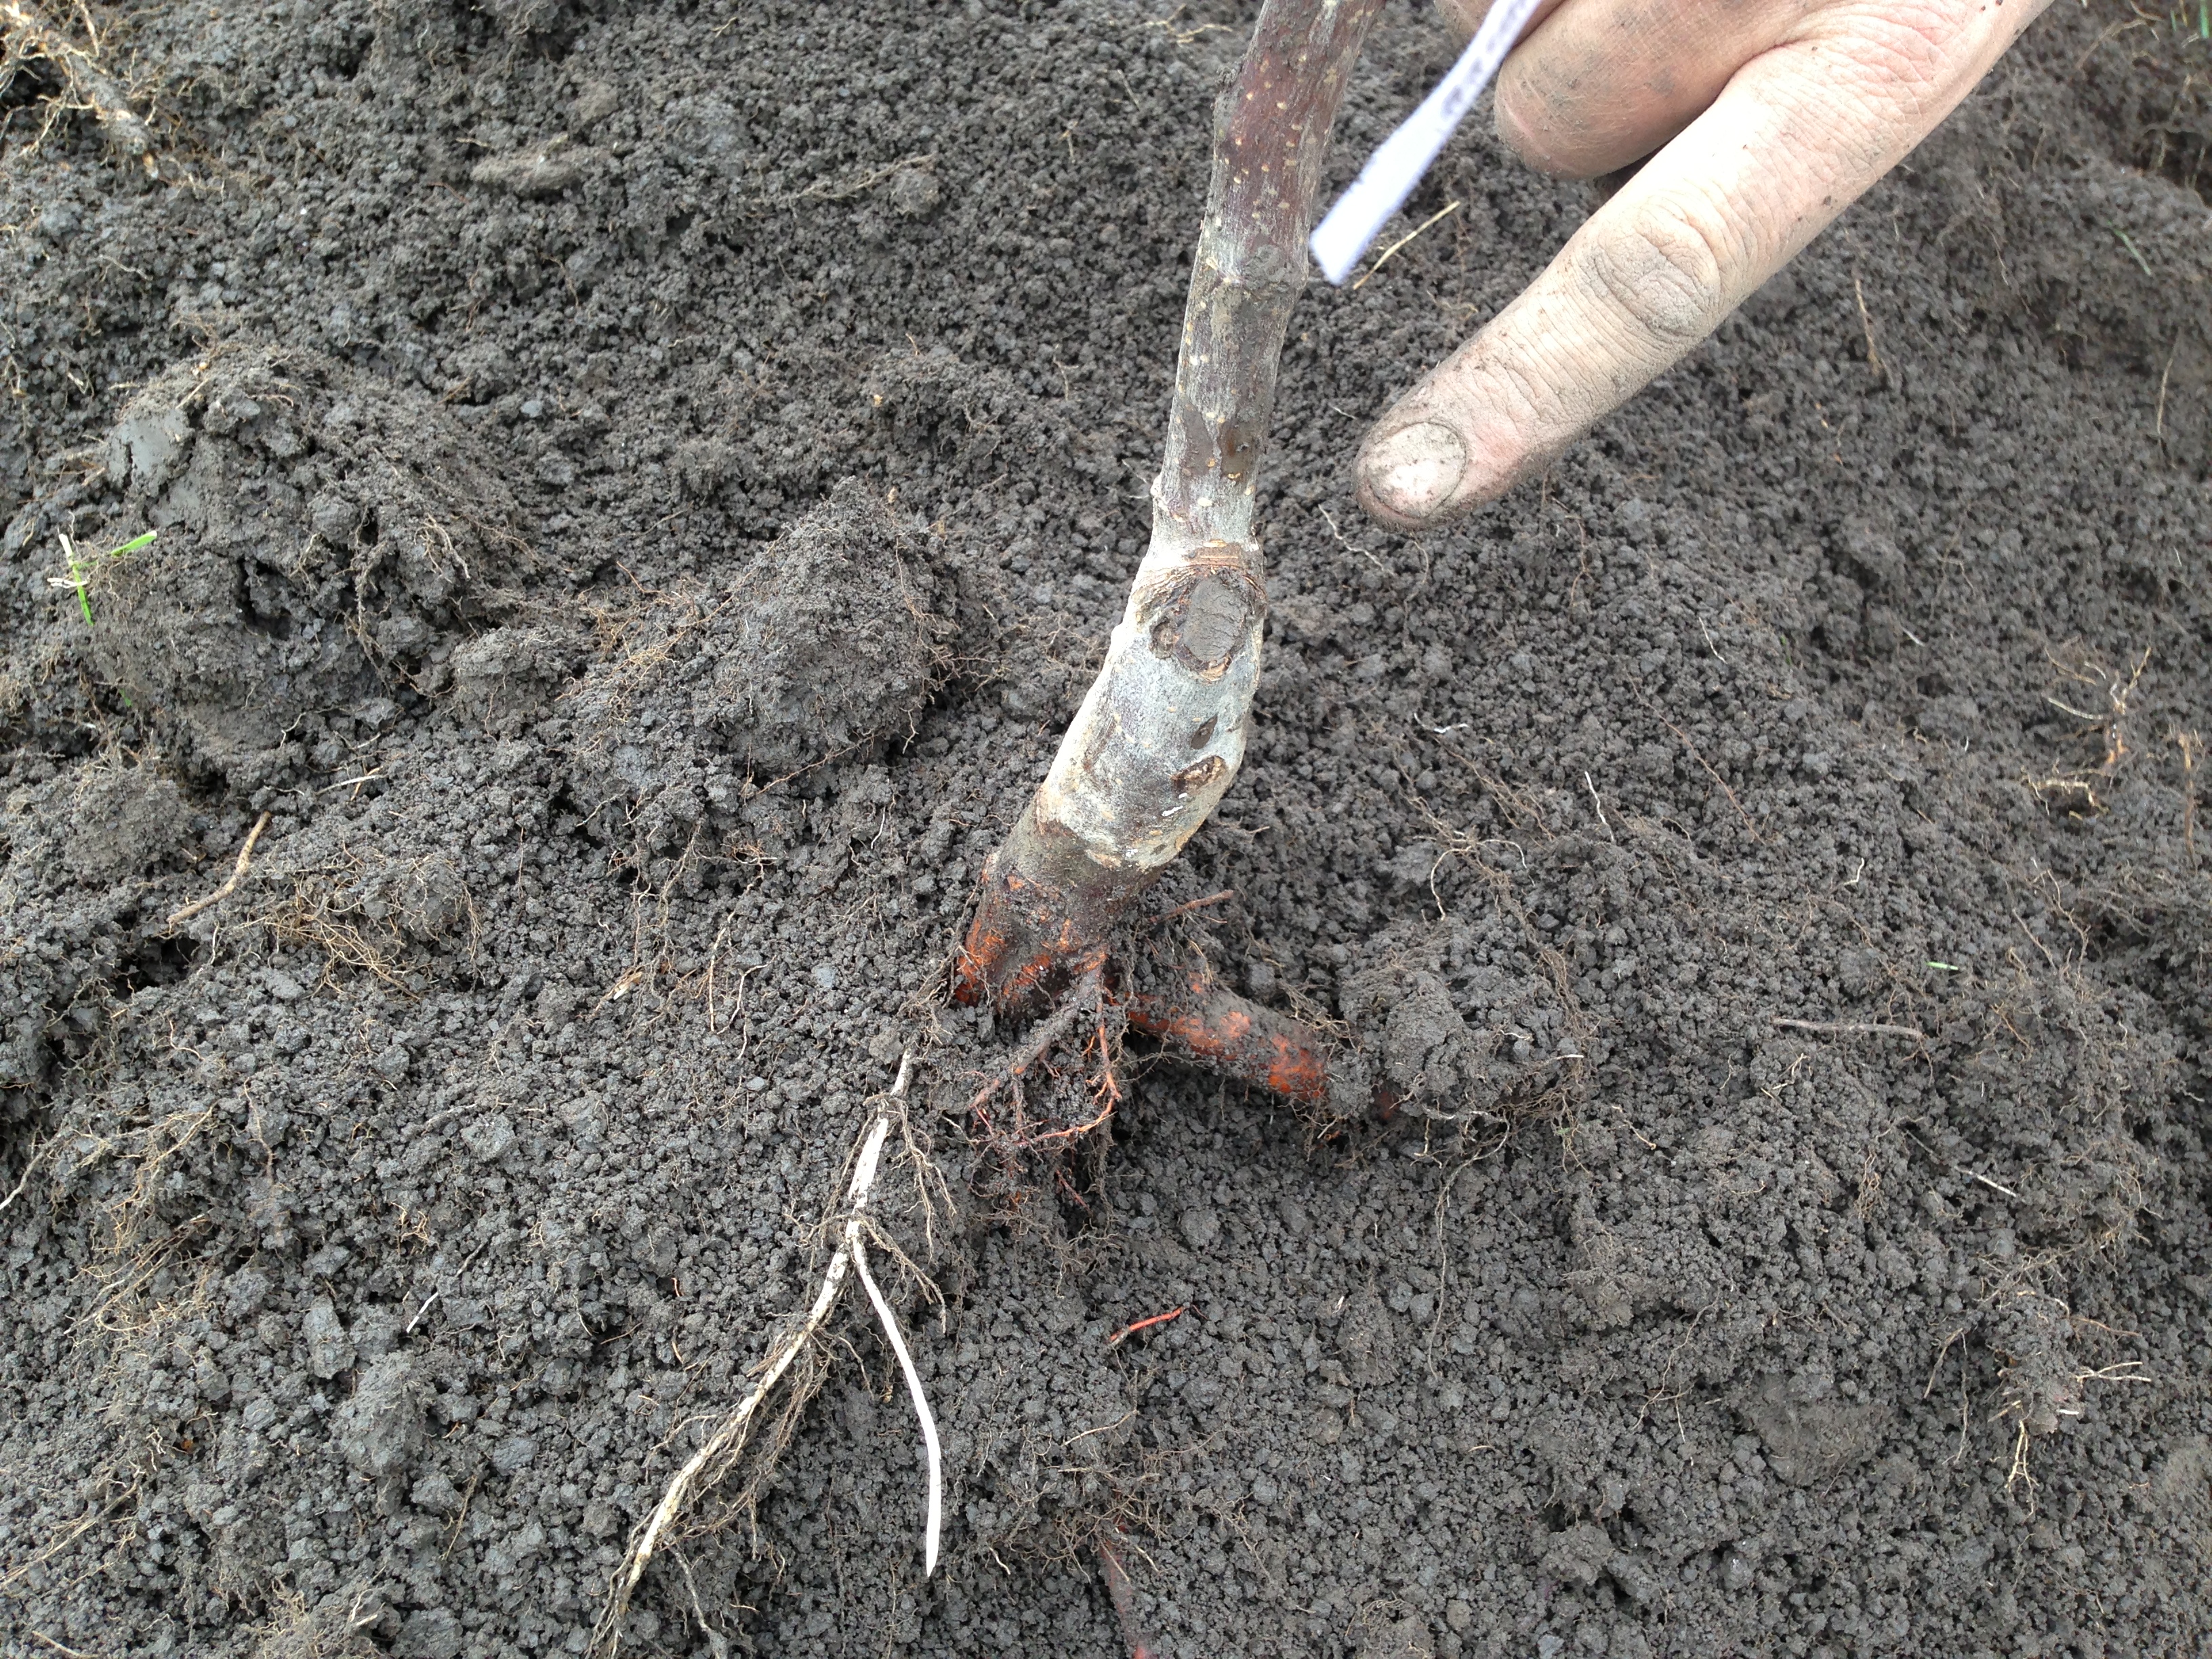
You want to dig the hole just deep enough so that the place where the rootstock is spliced sticks out above the ground, and just wide enough to accommodate the the roots. Leave a pile of loose soil in the bottom of the hole, and sit the tree right on top of the pile.
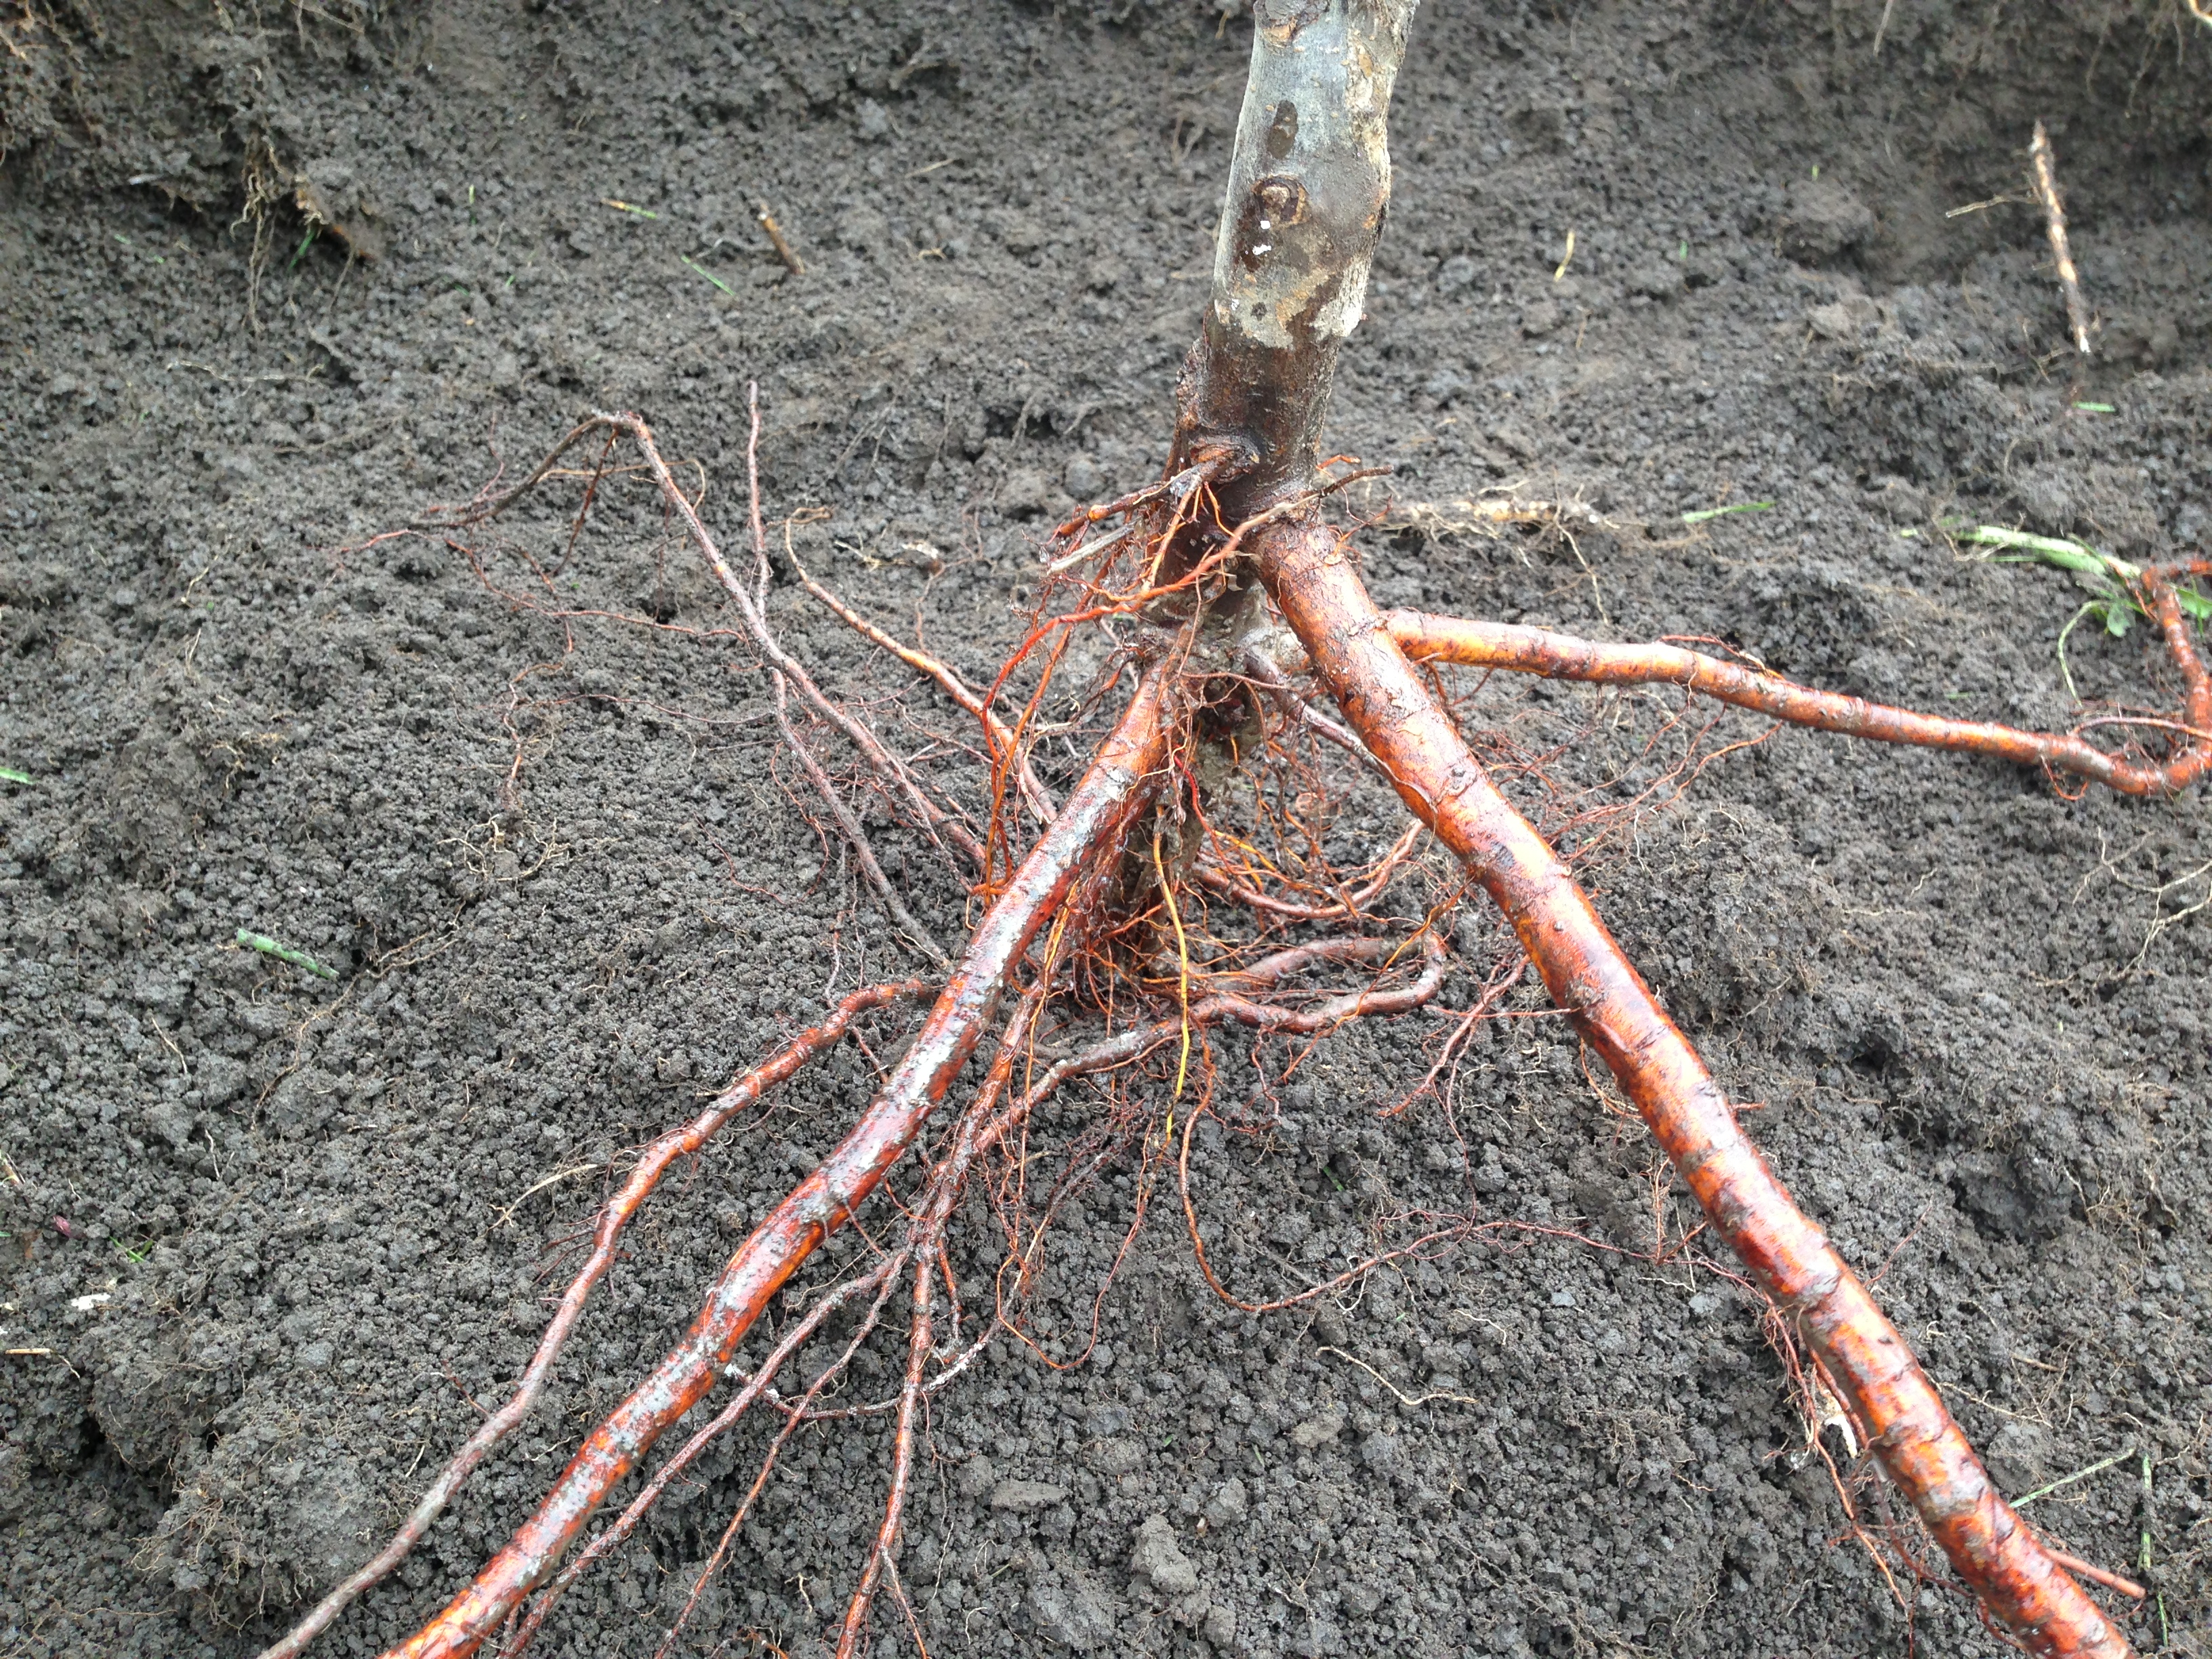
Roots need to go straight out from the trunk toward the wall of the hole. If a root is too long, cut it off. You don’t want roots bending around the edges. This can cause them to not grow correctly.
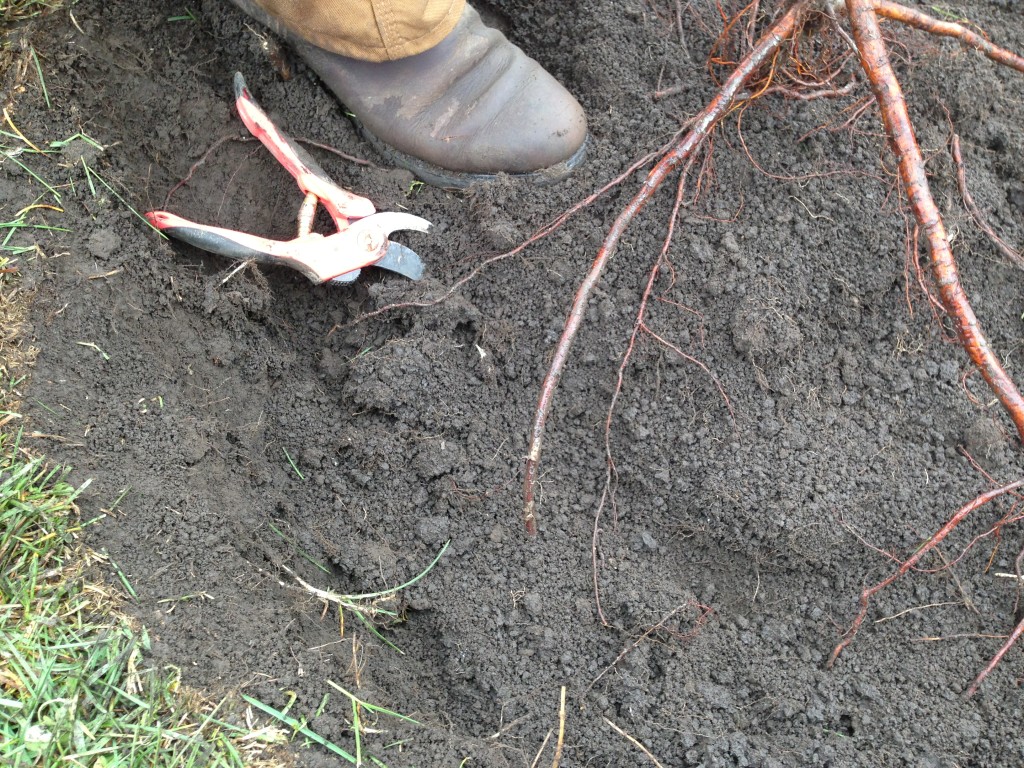
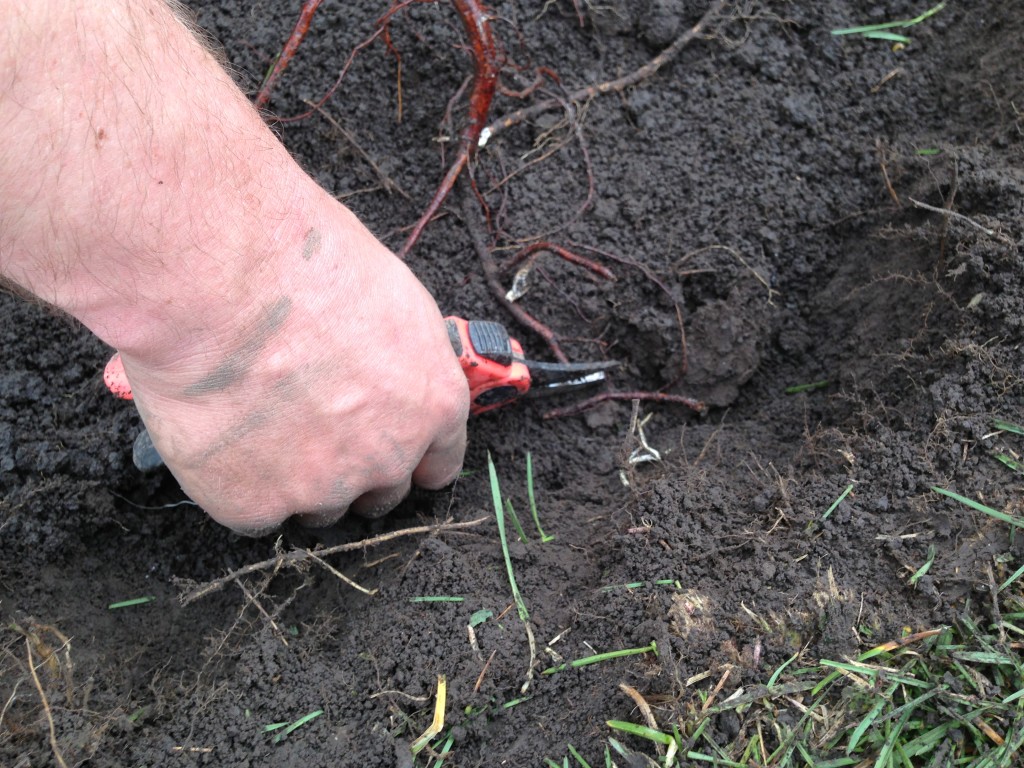
After the roots are trimmed and placed radially around the trunk, you can begin filling the hole. When filling, it is important to break up the clods, and jiggle the tree up and down from time to time to settle the dirt in around the roots so that they have good soil contact.
Every project on our homestead is a family project. Today Wren is out helping plant trees. She is happy to be outside.

It is really important that the root splice be above ground. If it isn’t, the tree could start to send out new roots from above the splice.
We are going to get a load of mulch and lay it 4-6 inches thick around each of our trees. This will help keep moisture in the roots, and prevent grass and weeds from robbing the tree of nutrient.
We ended up planting all eight trees yesterday. It is really fun to plant these small trees, knowing that if they are taken care of properly they will probably outlast us. It will be a while before we get fruit on our homestead but we are excited to watch our little orchard develop and grow with us!

“Diggin”” the orchard! Missing you guys!
Thanks Stephanie.
We miss you guys too! Come visit anytime! 😉